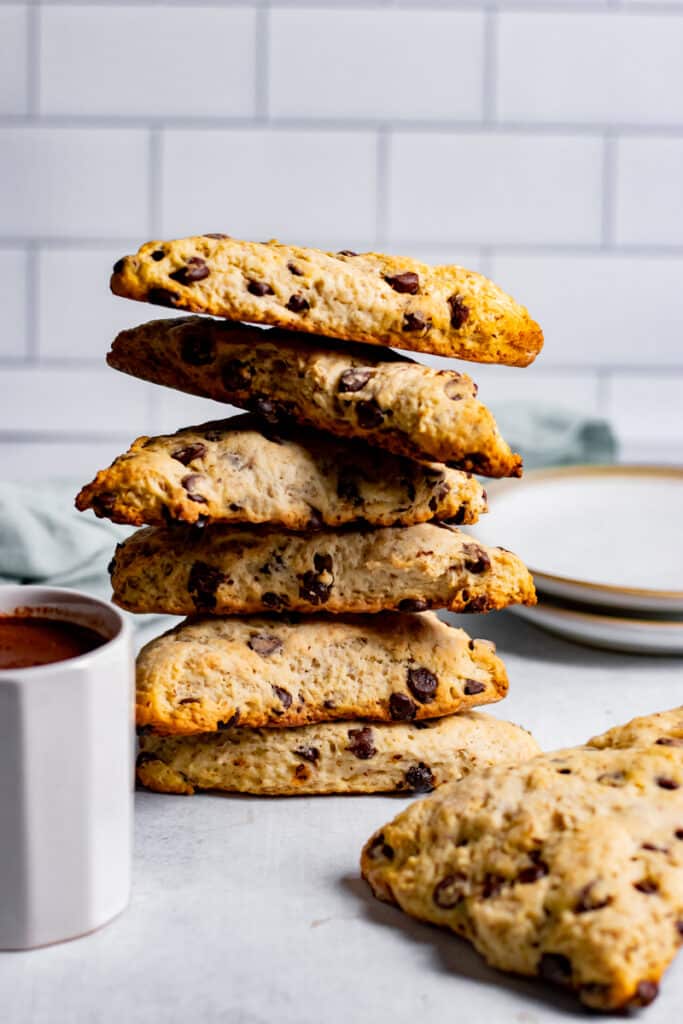
Tender, melt-in-your-mouth Vegan Chocolate Chip Scones are surprisingly easy to make and an absolutely delicious dessert or breakfast as they are loaded with delicious melty chocolate but not overly sweet. Serve them with coffee, tea, or a glass of cold non-dairy milk -- great for grown-ups and kids alike!
This post may contain affiliate links. See our disclosure policy for details.
Hey Internet, you know those food items that straddle the line between breakfast and dessert? Like my waffles with spiced raspberry compote, these vegan chocolate chip scones will satisfy your sweet tooth but in a perfectly acceptable-for-breakfast sort of way (we all need dessert for breakfast sometimes).
These scones are not overly sweet, but they have just the right amount (read: a lot) of chocolate chips in them and they’re perfectly delicious!
The first time I tested this (and my first time making scones ever!), I was adapting a recipe from my friend Melissa over at The Olive Blogger. Her chocolate chip scone recipe looked AMAZING, but since I’m an oil-free vegan I had to make a few adjustments.
With her permission, I wanted to share my recipe with you all today, because they were just amazing, and definitely received the coveted, closed-eyed “MMMMmmmphh” from my husband. I just love that reaction.
It was a very easy recipe to adjust, as well. I simply swapped the egg for a flax egg (ground flaxseed + water), the milk for some non-dairy milk (I used unsweetened almond), and the butter for coconut cream.
I definitely could have used vegan butter for that last swap, but since I’m oil-free, I went for my old stand-by coconut cream. It worked just as well when the recipe called for the cook to “cut-in” the butter, which I’ll explain later for those of you who have never done that (I hadn’t until I started experimenting with baking and pastry).
Anyway, this seems like a daunting recipe--dough? Scones? Cutting in butter?
But I promise, it’s actually super duper easy. Let’s get into it!
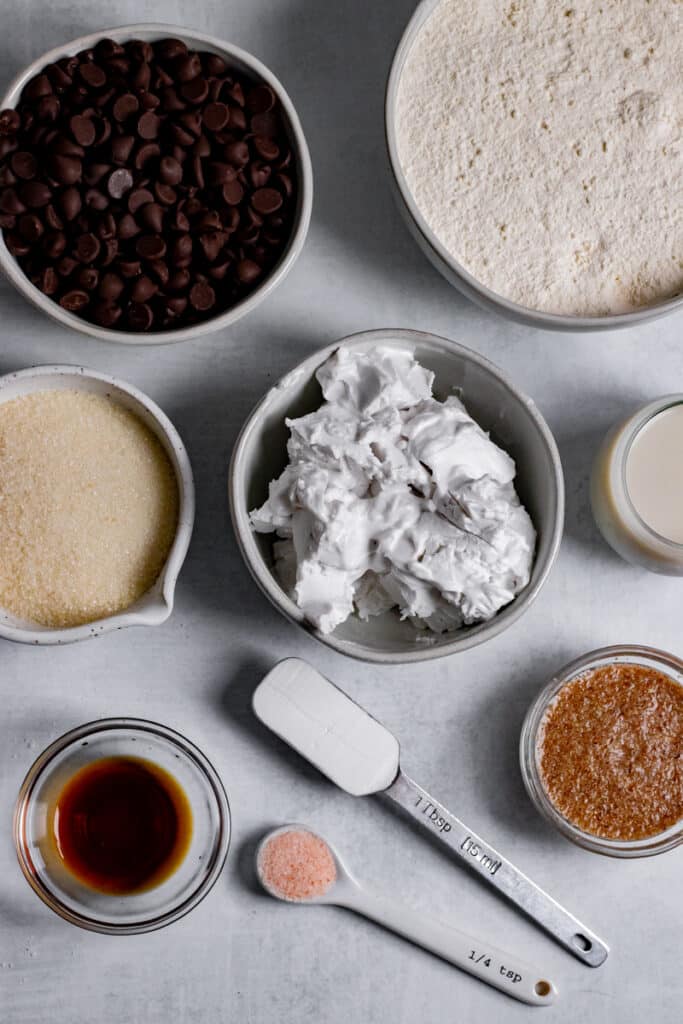
What You’ll Need
So let’s start with flour. I used regular unbleached all purpose flour. I like King Arthur Flour the best, but use what you like. Skip to the next section if you need substitutions.
I mentioned above I used coconut cream (the thick part of the coconut milk can, so you can use coconut milk too but you’ll just need enough for ¾ cup), refrigerated to harden it, instead of vegan butter.
Vegan butter will work too. You just want it to be cold and firm enough to cube (more on that in the techniques section).
To help make the dough, I used unsweetened almond milk--any non-dairy milk will work.
I also added a pinch of salt to this recipe because I found that it really enhanced the chocolaty-flavor, but it’s optional.
Sugar is optional (use a tad less liquid if omitting), but it’s a small amount for a large recipe. I used organic cane sugar (make sure it’s organic to ensure that it’s vegan), but coconut sugar should work too if you’re avoiding refined sugars.
A flax egg helped hold everything together, which I made by mixing 1 tablespoon of ground flaxseed with 3 tablespoons of water and letting it sit for a few minutes.
The recipe also calls for a little vanilla extract for flavor and some baking powder to help them rise in the oven!
Finally, I used non-dairy chocolate chips (I like the Enjoy-Life brand but Trader Joe’s and Target also have some) in the batter. Chopped chocolate would also work. See substitutions section below for ideas on sugar-free additions.
What Substitutions Can I Make?
Flour
Any all purpose flour will work for this recipe. Similarly, if you are avoiding gluten, this recipe should work with a good all purpose gluten-free flour. One of my favorites is King Arthur Measure for Measure Gluten-Free Flour.
I don’t know if any other type of flour would work. If experimenting, be prepared to either need to add more flour or more liquid to make the dough come together. You are looking for a somewhat sticky but not super messy consistency.
Coconut Cream
To get the soft, biscuity type of texture that scones have, you need solid fat in this recipe. I used refrigerated coconut cream.
You can use coconut milk in a can (refrigerate it first), but some brands are better than others and not all of them will have enough of that chunky part in it to make the ¾ cup butter replacement this recipe calls for.
Some good brands of coconut milk/cream I recommend: Native Forests (love that these are sustainably sourced), Thai Kitchen, and the Whole Foods 365 brand.
You can also just use vegan butter like Miyoko’s or Earth Balance if you’re cool with oil. Just make sure it’s firm when you use it.
Sugar
I used organic cane sugar (organic to keep it vegan, as non-organic sugar can be filtered with animal bone char), but coconut sugar would also work and be less refined.
You can actually omit the sugar in this recipe. If you do, just use a little less liquid when mixing the dough.
Flax Egg
If you don’t have access to ground flaxseed, there are other egg replacers that will work. Ground chia seeds, aquafaba, and Bob’s Red Mill Egg Replacer come to mind.
Chocolate Chips
If you don’t want any added sugar or just don’t want to use chocolate, you can fold just about anything into these delicious scones! Try fresh fruit like blueberries, dried fruit like cranberries, nuts, seeds, etc.!
How to Make Vegan Chocolate Chip Scones
Scones sound intimidating, but they’re actually way easier than you think! I’d definitely classify them as a beginner recipe.
When I bake, I love to measure all my ingredients out before I even start. This keeps me less stressed later on.
First, preheat your oven to 400 degrees Fahrenheit (or 205 degrees Celsius) and line a baking tray with a silicone baking mat or parchment paper.
Now, let’s measure the flour. It’s important to measure flour accurately--when you just reach your measuring cup into the bag, you can either cram too much flour in or add pockets of air which can really matter in the baking process (moreso with pastry, less so with items with a batter like cupcakes).
How to Properly Measure Flour
We want to measure our flour by weight, not by volume. When you scoop flour out of a bag or tin with a measuring cup, you're packing it in there and not necessarily getting the same amount each time.
What's better is to use a food scale with a tare function (allowing you to zero out the scale after you've put the bowl on it so your bowl isn't playing a factor in your equation).
Working in grams, put your bowl on the scale and zero it out. Scoop the flour into the bowl until you reach the desired measurement.
Add your dry ingredients to a large bowl (if using a stand mixer, add them directly to the mixing bowl) and whisk them together.
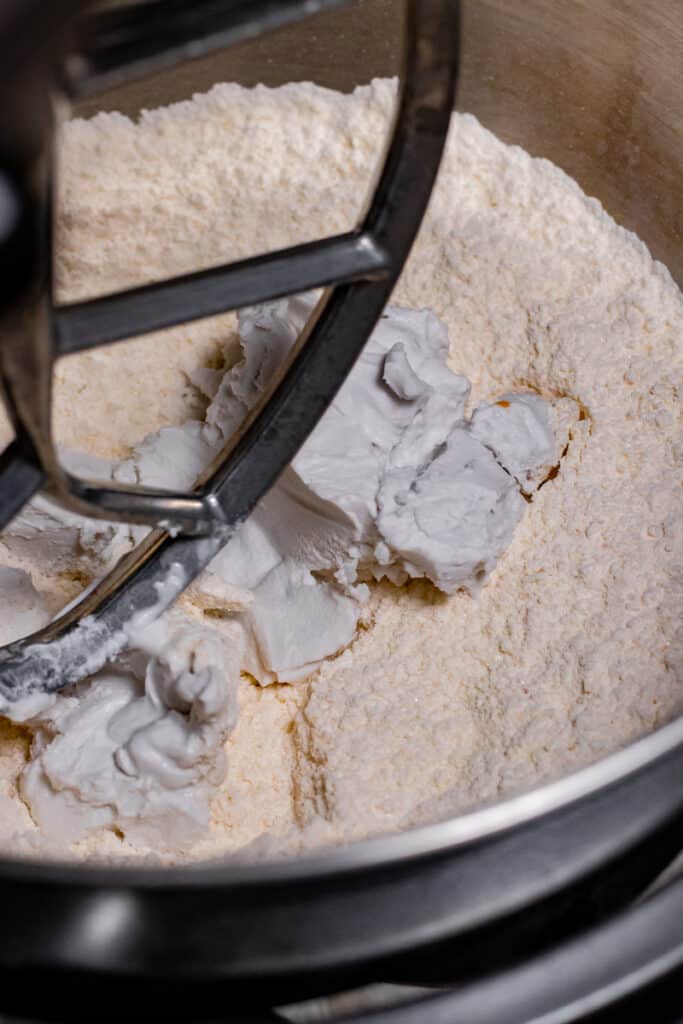
Now we’re going to cut in the coconut cream or vegan butter.
How to Cut In Butter (or Coconut Cream)
Cutting in butter just means that you’re blending the butter into the mixture in a way that still enables clumps of butter to remain in the mixture (if we were melting the butter, it would just mix in).
First, dice the cream or butter into cubes. I know this sounds a little strange.
Next, plop it into your bowl with the mixed dry ingredients.
This is really easy in a stand mixer: just use the paddle attachment to mix until most of the cream or butter is incorporated.
You can also use a tool known as a pastry blender which is inexpensive and easy to use.
If you don’t have one of these tools, you can use two forks.
There will still be some chunks but this is OK--it will serve to keep your dough moist while baking.
These little lumps also serve as structure in the final product, which give it more of a flaky quality.
Finish Making The Dough
Now create a small well in the center of your dry / coconut cream or butter mixture. Add in the non-dairy milk, set flax egg, and vanilla extract.
Stir with a strong wooden spoon or your hands until you have a somewhat sticky dough. Fold in your chocolate chips gently.
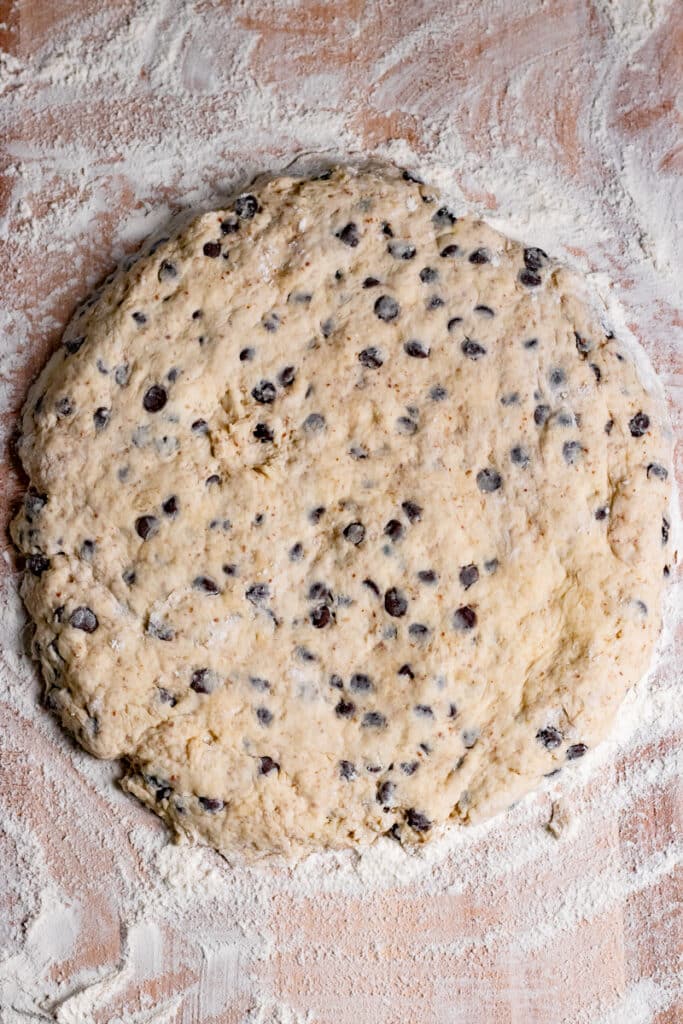
Next, turn out your dough onto a lightly floured work surface. You may need a spatula to help you get all the dough out of the bowl.
Turn over the dough gently so both sides are very lightly dusted with flour. We’re not trying to dry out the dough more, but this makes it easier to work with.
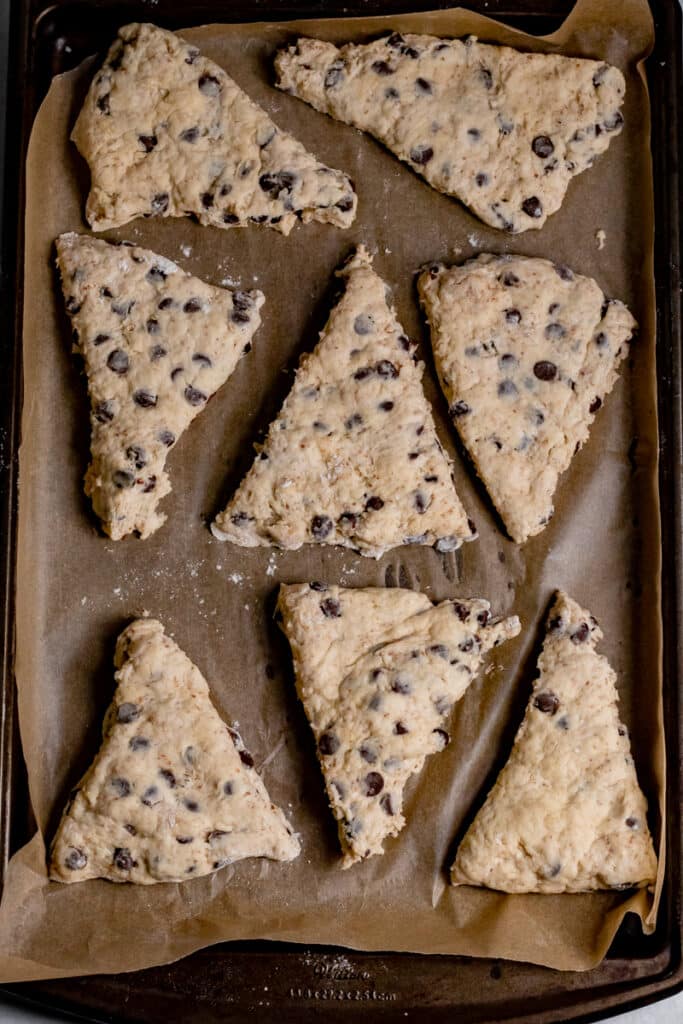
Flatten the dough with the palms of your hands until it’s a uniform circle about 1 inch thick. Mine was about 10 inches in diameter and 1 inch thick.
Now cut the dough into 8 even pieces. You can use a knife, pizza cutter, or pastry cutter for this step.
I recommend using a toothpick or (carefully) your knife to draw lines where you plan to cut, if getting the pieces even is important to you.
Cut the circle down the middle, then cut each of those sides down the middle. Now you should have 4 quadrants.
Cut each quadrant down the center and you will have 8 even pieces!
Each time I did this I couldn’t get it completely perfect, but my 2nd batch sure looked better than my first, and my 3rd looked best of all!
Luckily this recipe is so easy to make, you’ll definitely want to make it again.
Baking the Scones
Place each scone about 2 inches apart on your lined baking sheet. If you used vegan butter instead of coconut cream, you may choose to spread them out more (to possibly a second sheet) or refrigerate them for 15 minutes before baking them, as any kind of butter will spread more than coconut cream.
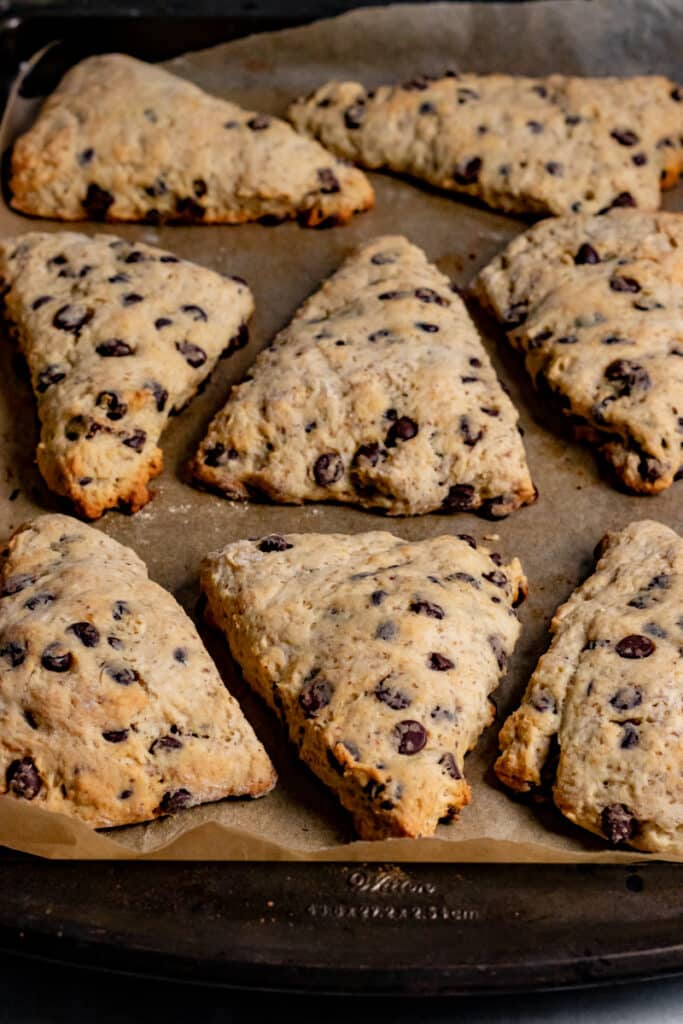
Bake the scones for about 15-20 minutes, depending on how you like them.
For soft scones, bake about 14-15 minutes. Your scones may or may not change in color.
For a crispy edge but still a soft scone, bake for between 16 and as long as 20 minutes. The longer you bake, the crispier edge you will get as well as some light brown color on the edges, but be aware that this will make your scone overall less soft.
This particular batch I wanted a little color on the edge so I baked for 20 minutes. After cooling they were definitely more solid than my other batches, but still soft and delicious.
What to Eat with Scones
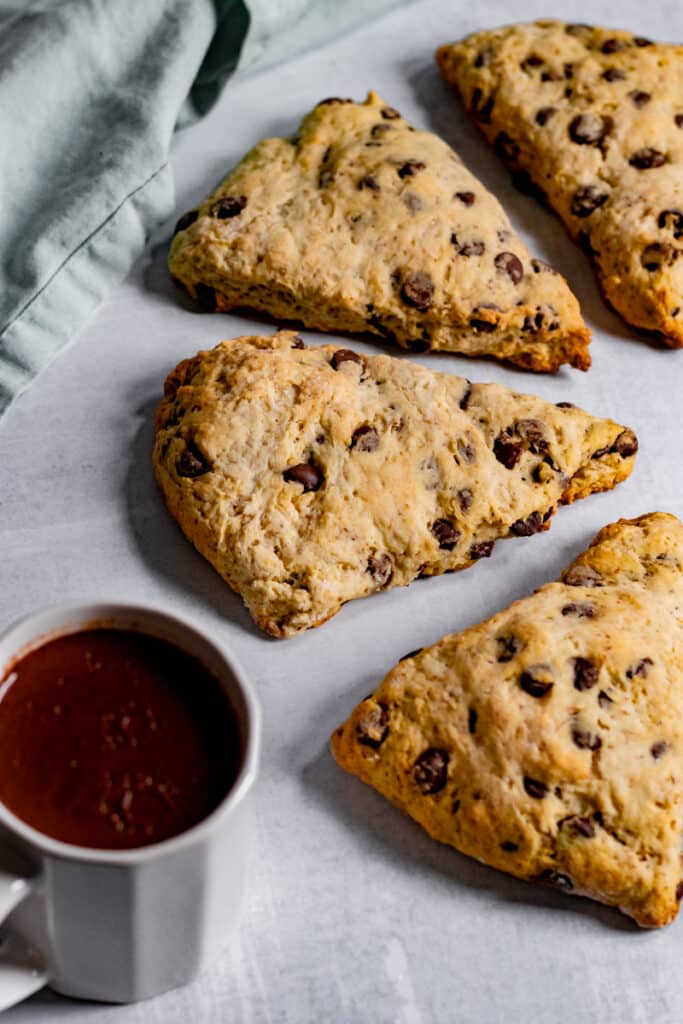
I like my scones with a little fresh fruit and a cup of tea. My husband prefers his with a glass of juice.
You could slice your scone and serve it with a spread of fruit jam (like this strawberry chia jam or a nut butter. Mmm, peanut butter and chocolate!
Enjoying these scones in the summer like me? They’re great with a glass of iced tea or an iced matcha latte.
You could also enjoy these with a scoop of ice cream for a delicious and decadent dessert.
More Vegan Dessert Recipes
I’ve gotten very interested in baking since starting this blog. I used to be afraid of it, but now it’s really fun! I still mess up once in a while, but that’s part of the journey. :)
Here are some of my most popular and successful vegan baking recipes!
Soft Chocolate Chip Cookies (No Chill!)
Gluten-Free Carrot Cake with Cream Cheese Frosting
Anything Else?
As always, I hope you love this recipe–I know I do and so does Mr. Zardyplants! These Vegan Chocolate Chip Scones are:
- Chocolaty (a very important adjective)
- Tender
- Moist
- Flaky
- Rich
- And not TOO sweet!
- They’re sure to please your kids, your guests, AND your spouse, but most importantly, your self!
Let me know in the comments below if you make this recipe or tag me @Zardyplants on Instagram so I can see your beautiful recreations! If you tag me on IG, I will share your post in my stories :)
Also, one quick request: if you love how this recipe looks or tastes, please leave me a 5-star rating and a nice comment–ratings help more people find my recipes which helps me keep providing them! Thank you!
<3 Liz
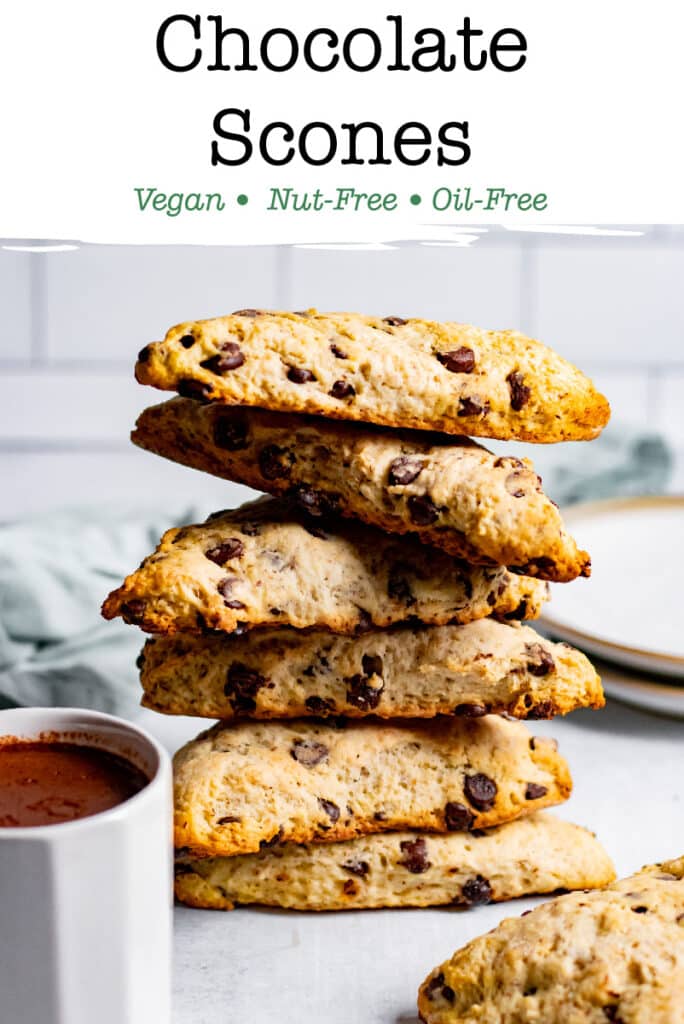
Save this for later on Pinterest!
Follow me on Social Media!
Follow my blog with Bloglovin
Vegan Chocolate Chip Scones
- Total Time: 25 minutes
- Yield: 8 scones 1x
- Diet: Vegan
Description
Tender, melt-in-your-mouth Vegan Chocolate Chip Scones are surprisingly easy to make and an absolutely delicious dessert or breakfast loaded with chocolate.
Ingredients
- 400g (roughly 2-½ cups) all purpose flour (see note 1)
- ⅓ cup organic cane sugar (see note 2)
- 1 tbsp baking powder
- ¼ tsp sea salt, optional
- ¾ cup chopped cold coconut milk/cream solids or vegan butter
- ½ cup + 1 tbsp unsweetened non-dairy milk
- 1.5 tsp vanilla extract
- 1 flax egg (1 tbsp ground flaxseed + 3 tbsp water)
- 1 cup dairy-free chocolate chips
Instructions
- Preheat your oven to 400 degrees F (or 205 degrees C) and line a baking tray with a silicone baking mat or parchment paper. Also mix your flaxseed and water in a small bowl and set aside (I like to refrigerate mine so it sets faster).
- Add flour, sugar, baking powder, and salt (if using) to a large bowl (if using a stand mixer, add them directly to the mixing bowl) and whisk them together. Next, cut in the coconut cream or butter. Instructions on how to do this are in the article above.
- Now create a small well in the center of your dry / coconut cream or butter mixture. Add in the non-dairy milk, set flax egg, and vanilla extract. Stir with a strong wooden spoon or your hands until you have a somewhat sticky dough. Fold in your chocolate chips gently.
- Next, turn out your dough onto a lightly floured work surface. You may need a spatula to help you get all the dough out of the bowl. Turn over the dough gently so both sides are very lightly dusted with flour. We’re not trying to dry out the dough more, but this makes it easier to work with. Flatten the dough with the palms of your hands until it’s a uniform circle about 1 inch thick. Mine was about 10 inches in diameter and 1 inch thick.
- Cut the dough into 8 even pieces. Cut the circle down the middle, then cut each of those sides down the middle. Now you should have 4 quadrants. Cut each quadrant down the center and you will have 8 even pieces! You can use a knife, pizza cutter, or pastry cutter for this step. I recommend using a toothpick or (carefully) your knife to draw lines where you plan to cut, if getting the pieces even is important to you.
- Place each scone about 2 inches apart on your lined baking sheet. If you used vegan butter instead of coconut cream, you may choose to spread them out more (to possibly a second sheet) or refrigerate them for 15 minutes before baking them, as any kind of butter will spread more than coconut cream.
- Bake the scones for about 15-20 minutes, depending on how you like them. For soft scones, bake about 14-15 minutes. Your scones may or may not change in color. For a crispy edge but still a soft scone, bake for between 16 and as long as 20 minutes. The longer you bake, the crispier edge you will get as well as some light brown color on the edges, but be aware that this will make your scone overall less soft.
- Store scones in an airtight container for up to 7 days, or freeze in a freezer safe container for up to 3 months.
Notes
- Note 1: Any all purpose flour will work for this recipe. Similarly, if you are avoiding gluten, this recipe should work with a good all purpose gluten-free flour. One of my favorites is King Arthur Measure for Measure Gluten-Free Flour.
- Note 2: I used organic cane sugar (organic to keep it vegan, as non-organic sugar can be filtered with animal bone char), but coconut sugar would also work and be less refined. You can actually omit the sugar in this recipe. If you do, just use a little less liquid when mixing the dough.
- Prep Time: 10 minutes
- Cook Time: 15 minutes
- Category: Dessert, Breakfast
- Method: Baking
- Cuisine: American, UK
Keywords: Vegan, Oil-Free, Nut-Free, Soy-Free, Vegan Chocolate Chip Scones



Daniela
Amazing!
So easy to make and so unbelievably rich, flaky, chocolaty and surprisingly not too sweet! An instant favourite with the entire family!
★★★★★