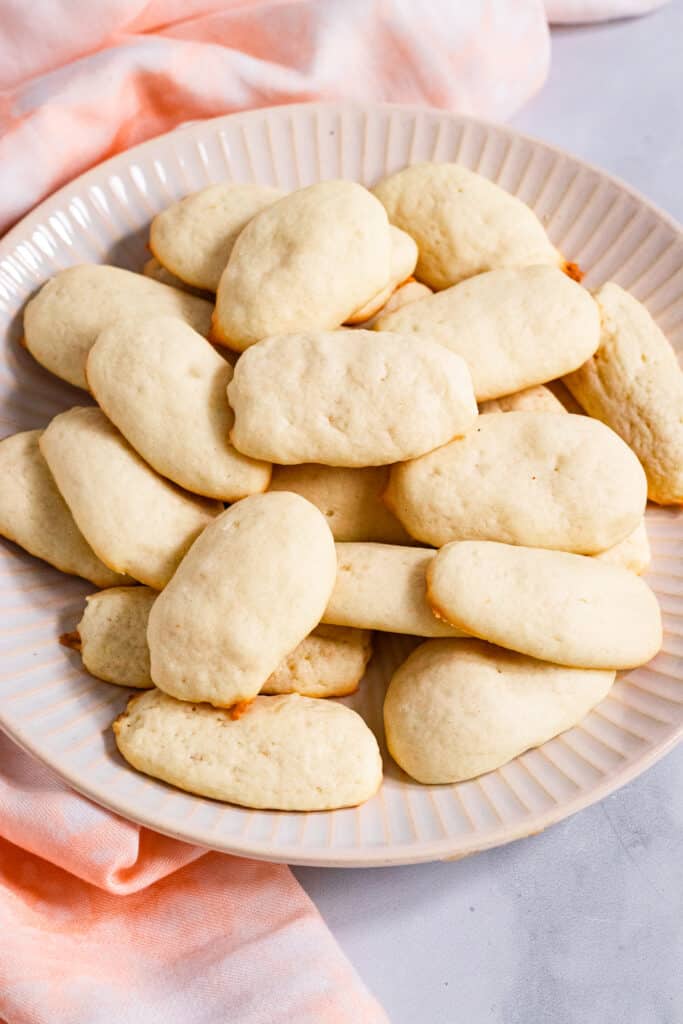
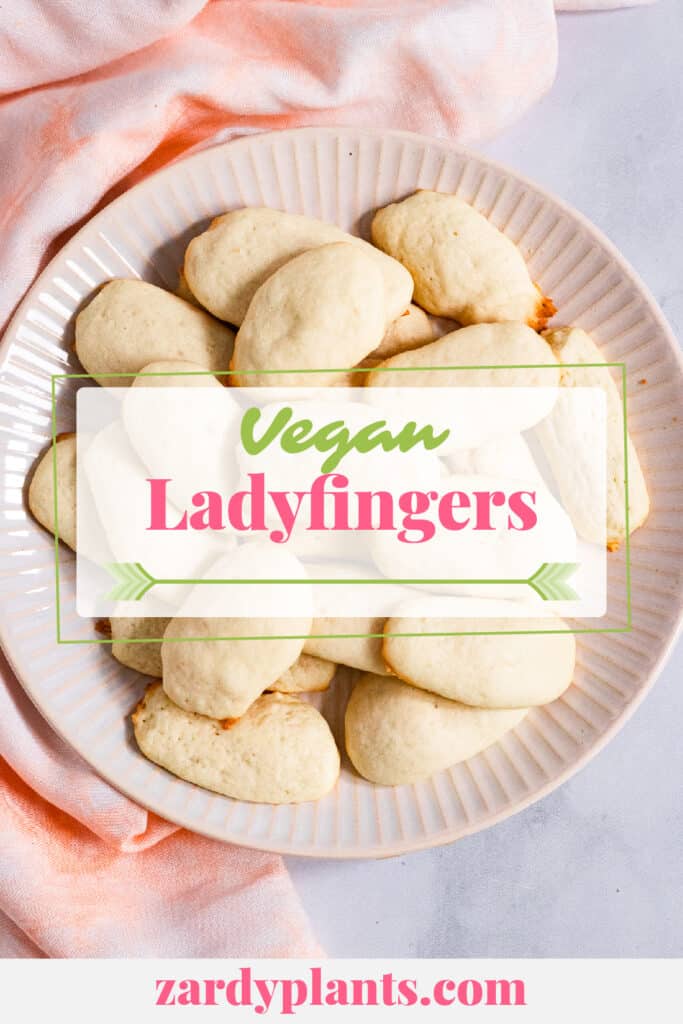
Traditionally made from egg whites, these delicious Vegan Ladyfingers are made from a few simple ingredients and so quick and easy. Make them for delicious Vegan Tiramisu or just enjoy like any other sugar or shortbread cookie.
This post may contain affiliate links. See our disclosure policy for details.
Hey Internet, so for my Vegan Tiramisu recipe, could I get any more ridiculous making my own ladyfingers too?
I thought about just using store bought cookies, but they all have oil in them and I really wanted to challenge myself.
I mean, don’t you remember I’m the one who made vegan smores and made her own vegan graham crackers?
Turns out these vegan ladyfinger cookies are WAY easier than I thought.
Piping is really intimidating, but honestly, it’s not so bad. I mean, mine don’t look the best… and this is after several rounds of practicing… but they still tasted good and got the job done, right? Lol.
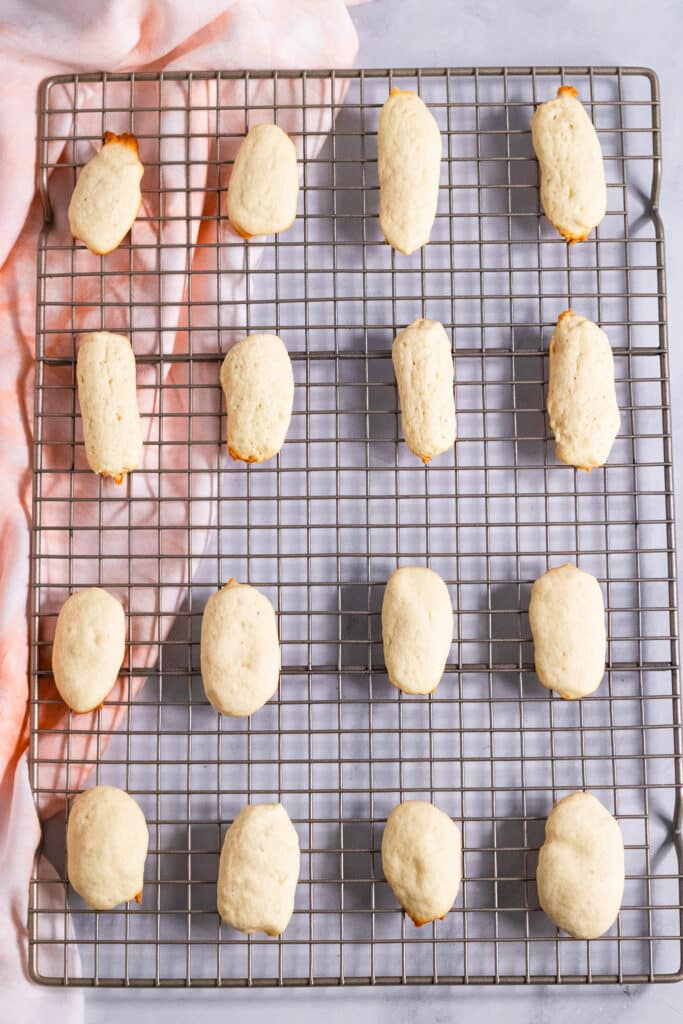
Ladyfingers are actually supposed to be more dry and sponge like, while mine are very cookie-like. I tried a few different textures throughout all my testing and I felt these both worked the best in the Tiramisu and tasted the best.
What do ladyfingers taste like? Well, they kinda honestly taste like sugar cookies.
Traditional ladyfingers are a type of meringue cookie since they’re based on egg, but I didn’t use egg or egg replacement here. So these just taste like yummy shortbread or sugar cookies.
Do you have to use them for Tiramisu? No! You can just eat them straight up--serve with a little sprinkled powdered sugar on top, or dip them in your coffee or tea.
I am also desperate to try them in a banana pudding. My mom used to make this amazing banana pudding pie thing and top it with chessmen cookies and I think these would be a great substitute there.
Vegan ladyfingers would also be great in a vegan trifle!
These cookies hold up great in the freezer, so you can make this big batch and save them for another day.
Keep reading to figure out how to make these easy vegan ladyfingers!
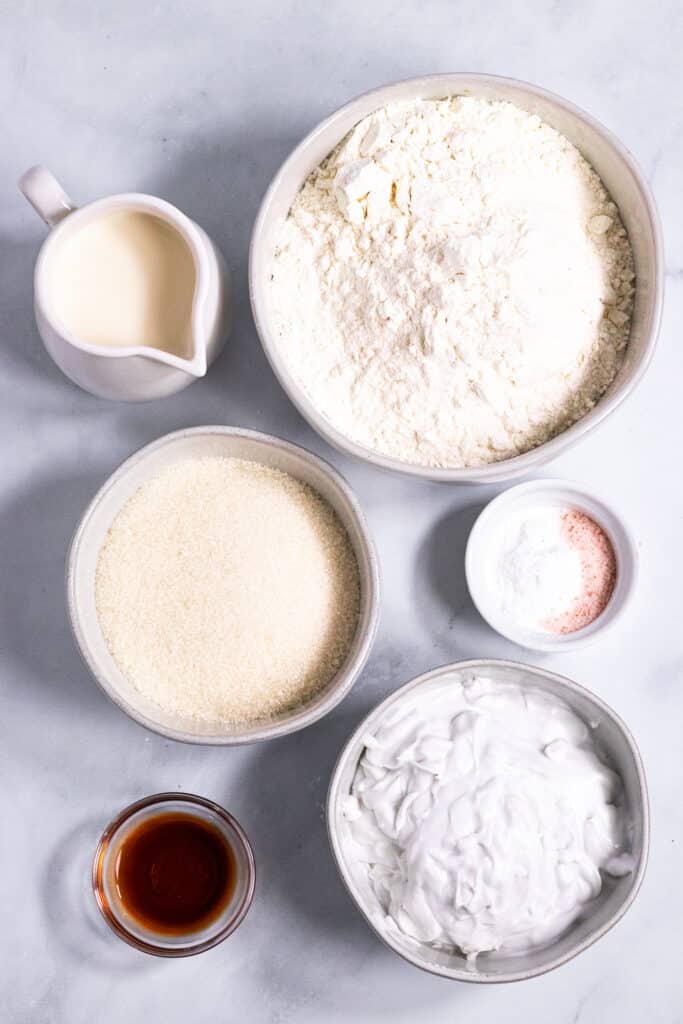
What You’ll Need
Like any good cookie base, these start out with sugar and fat. I used coconut cream, the solid part of a can of coconut milk (though I recommend buying canned coconut cream so you get more for your money) but room temperature vegan butter will also work.
The sugar is just organic cane sugar--I say organic because some conventional sugars are filtered through animal bone char, which isn’t vegan.
You could also use coconut sugar, just keep in mind your cookies may be a bit darker in color.
Unsweetened non-dairy milk will help everything mix together. Use any non-dairy milk you like.
To finish out the wet ingredients, a little vanilla extract flavors the cookies nicely.
You could use a different extract if you like. For a really great flavor, use the vanilla and add just a quarter teaspoon of almond extract (this will make this not nut-free, just so you know).
The dry ingredients are pretty typical: unbleached all purpose flour, double acting baking powder and a pinch of sea salt.
I haven’t tried this recipe with any other flour, but I bet it would work really well with a good quality cup for cup gluten-free flour. My favorites are King Arthur Measure for Measure Gluten-Free Flour and Bob’s Red Mill 1 to 1 Gluten-Free Flour.
What Equipment Do I Need?
The process for making these cookies is super easy. I find it easier with a handheld mixer or a stand mixer but you can do it by hand too.
To pipe the cookies, you can use a piping bag with a large tip, or you can use a gallon sized food storage bag with a small corner cut off.
I highly recommend using a silicone baking mat on your cookie sheet. I tried this the first time with parchment paper and it kept sliding around while I was trying to pipe.
Anyway, I love silicone baking mats because they’re very good at keeping things from sticking (especially for a person who doesn’t cook with oil like me), they’re cost effective, and better for the environment.
Tips for Making Vegan Ladyfingers
- Scoop all the solid coconut cream out of the can(s) and add it to a large bowl. Add the sugar on top and use beaters or a strong wooden spoon to cream the two together.
- Now add the non-dairy milk and vanilla extract and give it a quick stir.
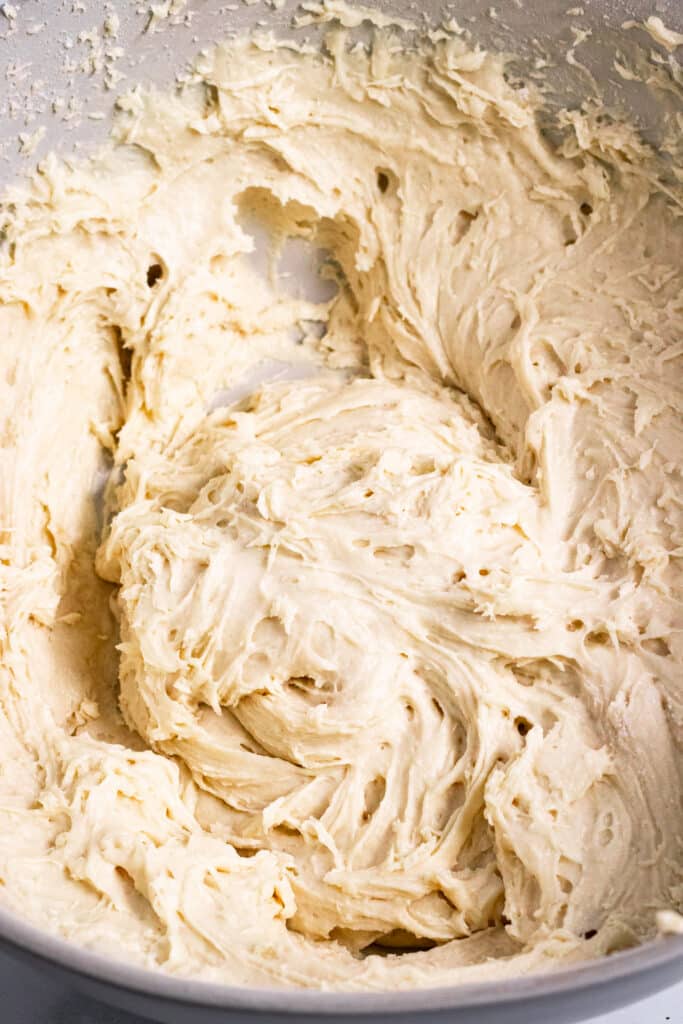
- Sprinkle in the flour, baking powder, and sea salt and mix until just combined. It should be a very thick batter, but not so much that you could scoop it and roll it like cookie dough.
- Preheat your oven to 350 degrees Fahrenheit (or 177 degrees Celsius) and prepare 2 half sheet sized cookie pans with silicone baking mats (see Equipment section for why I recommend these).
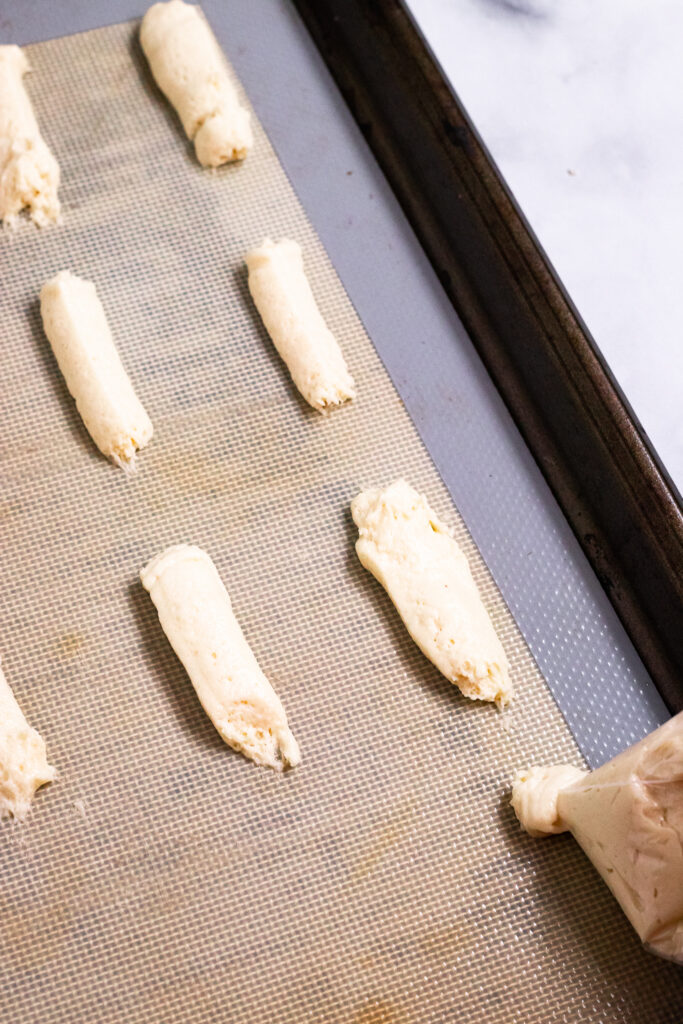
- Scoop all of your cookie batter into your piping bag with the tip attached or your gallon food storage bag. Snip off the corner if needed and get ready to pipe.
- The trick here is to try and get them all the same size. If you’ve never piped before it’s a tad challenging but once you get the hang of it, this will be the easiest thing you’ll ever pipe!
- I recommend starting in one corner in the upper right if you’re right handed, or the left if you’re left handed. Use your dominant hand to guide the tip or corner of the bag and your non-dominant hand to squeeze the bag, feeding a steady supply of batter.
- Pipe 3 inch lines one at a time, then move right to left (or left to right if you’re left-handed), then down each row until you get to the end. These 3 inch lines will spread a bit to give you nice vegan ladyfingers.
- Leave at least an inch between rows, and 2 inches between each cookie in each row. Fill up the other tray too, and set your bag in a small bowl, tip facing up.
- If you’re making my recipe as written, you should now have two trays of 16 ish unbaked cookies each and half your batter left. Store the batter in the fridge while the cookies bake.
- Bake cookies for about 12 - 14 minutes, switching the trays’ positions halfway through the baking process. The tops will not be very brown and they may still be a little soft on top.
- You can use a cookie spatula or something else small to check one of the cookies when you take them out. The bottom will be lightly browned. Let them cool on the cookie sheet for 5-10 minutes, then transfer to a cooling rack.
- Remove your remaining cookie batter from the fridge.
- Wipe down the silicone mats with a damp kitchen towel and fill them up again and repeat the same baking process, remembering to swap the trays’ positions halfway through.
- If serving: Dust with organic powdered sugar and serve with coffee or tea.
- If making Tiramisu: Allow these to stay on the cooling racks (or store in a container with the lid propped open) overnight so they can go stale. You want them to be dry and hard so they hold up to the espresso dunking process.
More Easy Vegan Desserts
Like easy desserts? Me too. A little too much. Check out some of my other easy vegan dessert recipes below.
- Soft Chocolate Chip Cookies (no chill)
- Vegan Matcha Cookies
- Matcha Pound Cake
- Vegan Smores
- Smores Cookie Bake
- Chocolate Chip Scones
- Banana Bread
- Apple Cake
- Apple Butter Thumbprint Cookies
- Coconut Almond Butter Cookies
Anything Else?
I really hope you like this recipe! I know I do and so does Mr. Zardyplants, who kept trying to eat all my freaking cookies even though I kept telling him I needed them for my Tiramisu!
These Vegan Ladyfingers are:
- Sweet
- Crispy yet chewy and soft in the middle
- Tender
- Satisfying
- Really easy to make -- Super fun for kids to get involved!
- And of course, perfect for vegan Tiramisu.
Let me know in the comments below if you make this recipe or tag me @Zardyplants on Instagram so I can see your beautiful recreations! If you tag me on IG, I will share your post in my stories :)
Also, one quick request: if you love how this recipe looks or tastes, please leave me a 5-star rating and a nice comment–ratings help more people find my recipes which helps me keep providing them! Thank you!
<3 Liz
Save this for later on Pinterest!

Vegan Ladyfingers
- Total Time: 30 minutes
- Diet: Vegan
Description
Traditionally made from egg whites, these delicious Vegan Ladyfingers are made from a few simple ingredients and so quick and easy.
Ingredients
- 1 cup canned coconut cream (see note 2) or room temp. vegan butter
- ⅔ cup organic cane sugar (see note 3)
- ⅔ cup unsweetened non-dairy milk
- 1 tsp vanilla extract
- 1 ½ tsp double acting baking powder
- ¼ tsp sea salt
- 2 scooped cups AP flour, about 370g or if spooning & leveling, 3 cups (see note 4)
Instructions
- Mix wet ingredients: Scoop all the solid coconut cream out of the can(s) and add it to a large bowl. Add the sugar on top and use beaters or a strong wooden spoon to cream the two together. Now add the non-dairy milk and vanilla extract and give it a quick stir.
- Add dry ingredients: Sprinkle in the flour, baking powder, and sea salt and mix until just combined. It should be a very thick batter, but not so much that you could scoop it and roll it like cookie dough.
- Prep: Preheat your oven to 350 degrees Fahrenheit (or 177 degrees Celsius) and prepare 2 half sheet sized cookie pans with silicone baking mats (see Equipment section for why I recommend these).
- Set up a piping station: Scoop all of your cookie batter into your piping bag with the tip attached or your gallon food storage bag. Snip off the corner if needed and get ready to pipe. I *highly* recommend using a silicone baking mat on your cookie sheet. I tried this the first time with parchment paper and it kept sliding around while I was trying to pipe.
- Start Piping: The trick here is to try and get them all the same size. If you’ve never piped before it’s a tad challenging but once you get the hang of it, this will be the easiest thing you’ll ever pipe! I recommend starting in one corner in the upper right if you’re right handed, or the left if you’re left handed. Use your dominant hand to guide the tip or corner of the bag and your non-dominant hand to squeeze the bag, feeding a steady supply of batter.
- Pipe 3 inch lines one at a time, then move right to left (or left to right if you’re left-handed), then down each row until you get to the end. These 3 inch lines will spread a bit to give you nice vegan ladyfingers. Leave at least an inch between rows, and 2 inches between each cookie in each row. Fill up the other tray too, and set your bag in a small bowl, tip facing up. If you’re making my recipe as written, you should now have two trays of 16 ish unbaked cookies each and half your batter left. Store the remaining batter in the fridge while the cookies bake.
- Bake: Bake cookies for about 12 - 14 minutes, switching the trays’ positions halfway through the baking process. The tops will not be very brown and they may still be a little soft on top. You can use a cookie spatula or something else small to check one of the cookies when you take them out. The bottom will be lightly browned. Let them cool on the cookie sheet for 5-10 minutes, then transfer to a cooling rack.
- Repeat: Remove your remaining cookie batter from the fridge. Wipe down the silicone mats with a damp kitchen towel and fill them up again and repeat the same baking process, remembering to swap the trays’ positions halfway through.
- If serving: Dust with organic powdered sugar and serve with coffee or tea.
- If making Tiramisu: Allow these to stay on the cooling racks (or store in a container with the lid propped open) overnight so they can go stale. You want them to be dry and hard so they hold up to the espresso dunking process.
Notes
- Note 1: This recipe makes A LOT of vegan ladyfinger cookies because I used them to make my vegan Tiramisu. You can easily halve it. Though I will say, these cookies hold up great in the freezer, so you can make this big batch and save them for another day.
- Note 2: Like any good cookie base, these start out with sugar and fat. I used coconut cream, the solid part of a can of coconut milk (though I recommend buying canned coconut cream so you get more for your money) but room temperature vegan butter will also work.
- Note 3: The sugar is just organic cane sugar--I say organic because some conventional sugars are filtered through animal bone char, which isn’t vegan. You could also use coconut sugar, just keep in mind your cookies may be a bit darker in color.
- Note 4: I haven’t tried this recipe with any other flour, but I bet it would work really well with a good quality cup for cup gluten-free flour. My favorites are King Arthur Measure for Measure Gluten-Free Flour and Bob’s Red Mill 1 to 1 Gluten-Free Flour.
- Prep Time: 15 minutes
- Cook Time: 15 minutes
- Category: Dessert, Snack
- Method: Baking
- Cuisine: American
Keywords: Vegan, Oil-Free, Nut-Free, Soy-Free, Vegan Lady Fingers


Arus Aramyan
Worked like a charm! Will drop the photo on SM. Thanks for the recipe!
★★★★★