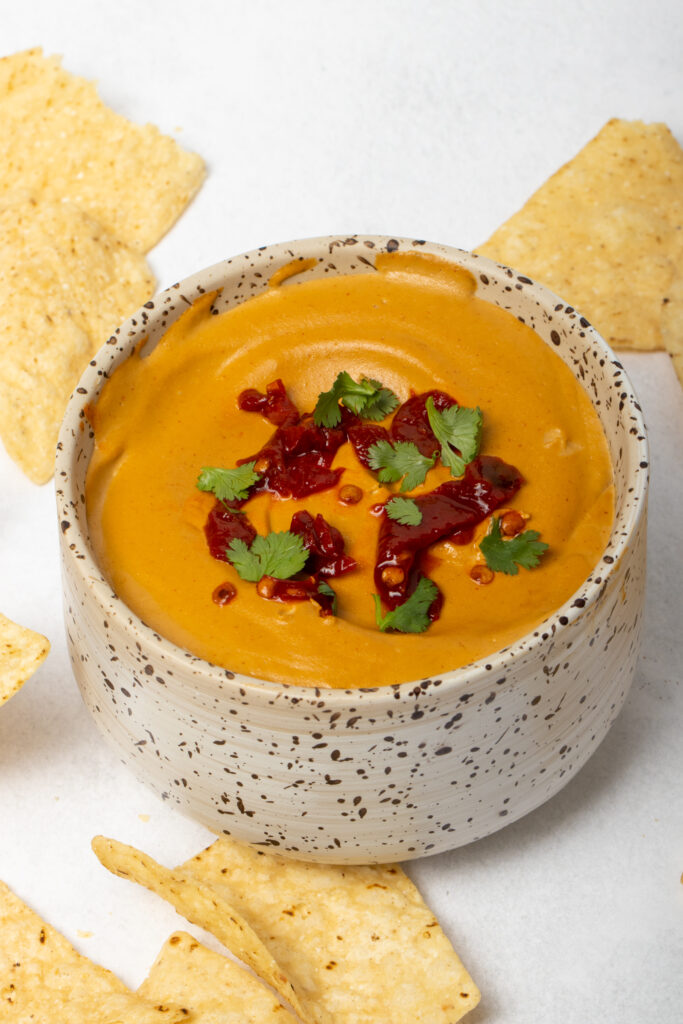
Creamy and cheesy with a kick, this Nut-Free Vegan Queso will surely rock your socks off in 5 minutes or less. Dip chips or veggies in it or use it as a topping for burritos, bowls, nachos, and more.
This post may contain affiliate links. See our disclosure policy for details.
Hey Internet, I love everything about queso, so it’s no surprise I’m bringing you a queso recipe (and a few days before Cinco de Mayo at that).
And like my other vegan cheese recipes, it’s made without nuts because honestly it’s just cheaper. It’s also more accessible for my friends and followers with nut allergies!
But seriously, does anyone else feel like EVERY vegan recipe nowadays relies on cashews? And they’re one of the most expensive nuts.
So I started subbing other things like tofu or raw sunflower seeds. And honestly they work great.
This particular recipe is made with raw sunflower seeds which are less than half the price of the raw cashews, at least where I live. You could also sub tofu if you’re watching your fat intake, but the seeds do make this sauce ultra creamy.
Speaking of which, she is THICK. This super thick queso can be thinned down if you want to drizzle it over something like a loaded baked potato or a plate of nachos or even nacho fries. But as is, it’s awesome for dipping.
This nut-free vegan queso is SO easy to make and might become your new fav snack.
And if you like it warm it’s easy to warm up--in fact, if you have a high powered blender like a Vitamix, it will warm it up for you. Yaaas.
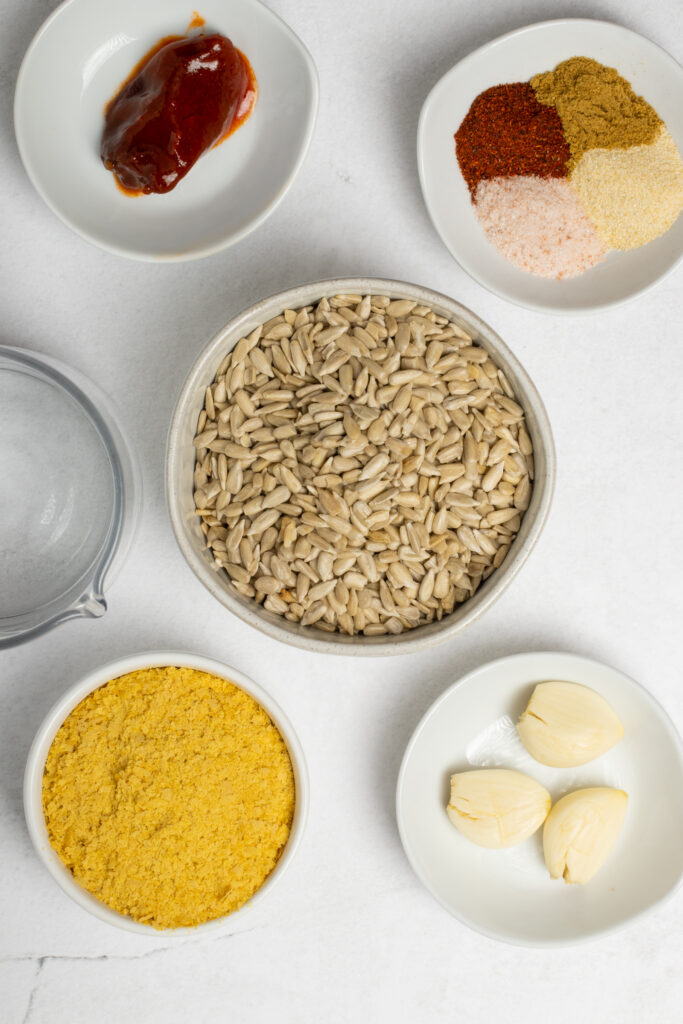
What You’ll Need
- Raw sunflower seeds: So these are way cheaper than cashews, though you’re also welcome to use raw cashews cup for cup. If you do not have a high powered blender, soak your seeds or cashews in just boiled water for 30-60 minutes and then drain the water before blending. This will help make your queso ultra creamy. If watching your fat intake, either substitute canned/cooked white beans (like cannellini beans) or silken/soft tofu (if using tofu you will need less water, so only add as much water as needed).
- Hot water
- Garlic: I prefer the flavor of fresh peeled garlic for this recipe. Mince it up first or use granulated garlic if you don’t have a high powered blender.
- Chipotle pepper in adobo: This is what gives our queso its spice. I only used one for just a small kick, but you can add more if you like spicy. You could also substitute any hot sauce, sriracha, harissa, or a ground spice like chipotle or cayenne if you don’t have chipotle peppers in adobo. If you do not like spicy food, just leave this out. You could always add a little smoked paprika for some more flavor.
- Nutritional yeast: Nooch (nutritional yeast’s vegan nickname) gives this vegan queso a good dose of cheesiness. If you don’t like nutritional yeast, you can substitute about ½ cup shredded vegan cheese (yes, in the blender).
- Spices: I used granulated onion, ground cumin, chili powder, and spice to flavor my queso, but you can adjust as needed for your individual tastes.
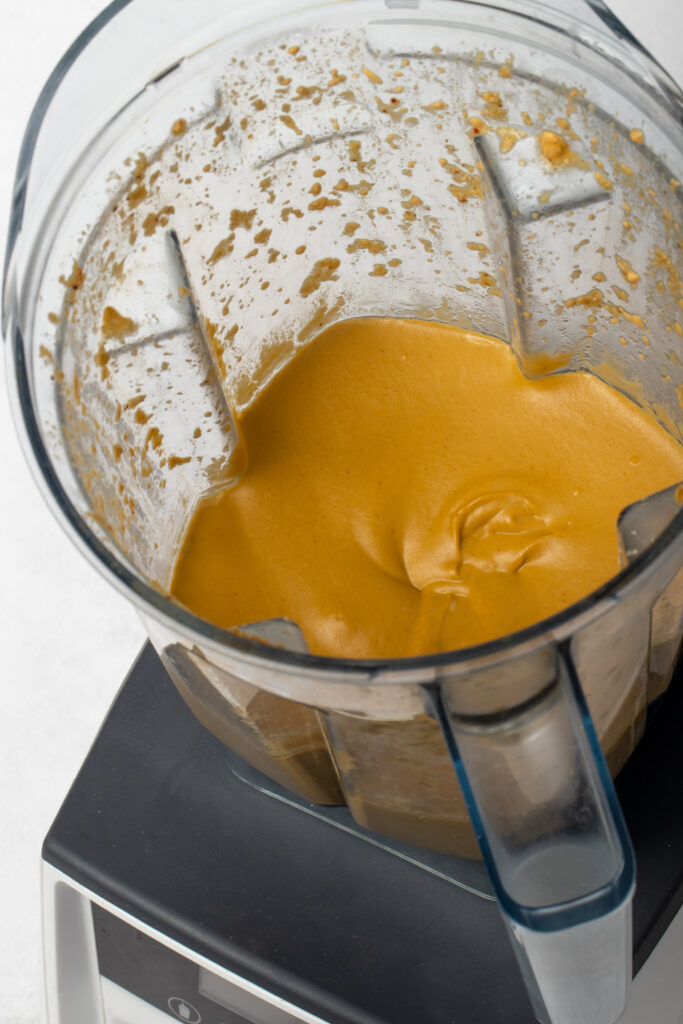
How to Make Nut-Free Vegan Queso
- Note: If you do not have a high powered blender like a Vitamix or a Blendtec, you’ll want to soak your raw sunflower seeds (or sub cashews) for 30-60 minutes in just-boiled water. Then drain the water before adding to your blender. Additionally, you may want to blend in 30 second bursts to let your blender rest in between. I didn’t always have a high powered blender so I used to have to let my blender cool down in between blending to make sure it didn’t overheat.
- Add all ingredients to the blender, cover with its lid, and slowly turn the power all the way up. Blend on high for 2 ½ - 3 minutes, adding more water as needed to blend (I use the full 1 ¼ cups water to blend). I do 3 full minutes to get it super creamy and also because 3 minutes heats it up nicely so I can enjoy hot queso with my chips. You can also heat it in a pot or the microwave after blending if needed.
- Serve that nut-free vegan queso in a bowl or thin with a little water to drizzle over chips. Note that when heated, it can form a darker matte layer on top… this is just a chemical reaction that’s totally safe to eat. You can always stir to remove it. Top your queso with cilantro, pico de gallo, or chopped chipotle peppers in adobo from the can (if you like spicy food!).
- Refrigerate leftovers in an airtight container for up to 3-4 days.
What is Queso?
If you know any Spanish, queso is actually the literal word for cheese, even though there are tons of cheeses out there, and lots of variations used in Mexican cuisine.
Chile con Queso or queso dip are actually more accurate terms, and are more Tex-Mex than authentic Mexican cuisine. It’s served as a warm dish with chips or tortillas.
It’s not the same as nacho cheese although sometimes the two are used in similar ways. I actually prefer queso on my nachos because it has a richer, smokier flavor and I like the chiles.
Oh and if you’re wondering, queso fresco is a type of cheese, not related to queso dip.
More Vegan Cheese Recipes
I have a ton of nut-free vegan cheese recipes because I really like cheese and I’m also really cheap and don’t have enough money to keep 5 pounds of raw cashews in my house at all times.
And yes, I keep around 5 pounds of raw sunflower seeds in my house at all times… they work well for so many things!
Anway, here’s some of my favorite vegan cheese recipes!
- Vegan Brie
- Vegan Feta
- Stretchy Vegan Mozzarella Sauce
- Vegan Goat Cheese
- Vegan Ricotta
- Stretchy Vegan Cheddar Sauce
- Nut-Free Vegan Cheese Sauce
- Vegan Cheddar Cheese
- Vegan Cotija
- 5 Minute Vegan Parmesan Topping
- Vegan Camembert
- Vegan Cauliflower Cheese Sauce
Anything Else?
As always, I hope you love this recipe--I know I do, and Mr. Zardyplants does too. I am TOTALLY obsessed… we keep eating the whole batch every time we make it.
This nut-free vegan queso is:
- Cheesy
- Zesty
- Smoky
- Creamy
- Decadent
- Luscious
- Cozy
- Satisfying
- Oh so delicious!
- And perfect for a quick and cozy snack (or meal if you’re me, hah), but impressive enough to serve guests!
Let me know in the comments below if you make this recipe or tag me @Zardyplants on Instagram so I can see your beautiful recreations! If you tag me on IG, I will share your post in my stories :)
Also, one quick request: if you love how this recipe looks or tastes, please leave me a 5-star rating and a nice comment–ratings help more people find my recipes which helps me keep providing them! Thank you!
<3 Liz
Save this for later on Pinterest!
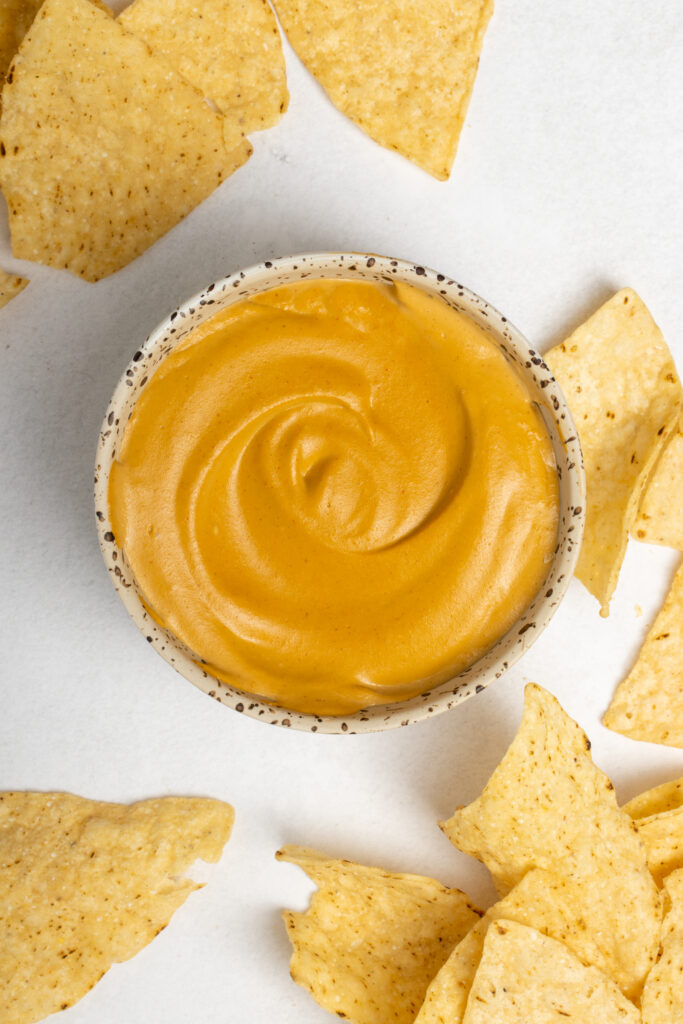

Nut-Free Vegan Queso
- Total Time: 5 minutes
- Yield: 2 cups 1x
- Diet: Vegan
Description
Creamy and cheesy with a kick, this Nut-Free Vegan Queso will surely rock your socks off in 5 minutes or less.
Ingredients
- 1 cup raw sunflower seeds (or raw cashews) (see note 1 for low-fat options)
- 1 - 1 ¼ cups hot water
- 3 cloves garlic, peeled (see note 2)
- 1 single chipotle pepper in adobo, optional (or more to taste) (see note 3)
- 6 tablespoons nutritional yeast (or ½ cup vegan shredded cheese)
- 1 teaspoon onion powder
- 1 teaspoon chili powder (to taste)
- 1 teaspoon sea salt, (to taste)
- ½ teaspoon ground cumin
Instructions
- Note: If you do not have a high powered blender like a Vitamix or a Blendtec, you’ll want to soak your raw sunflower seeds (or sub cashews) for 30-60 minutes in just-boiled water. Then drain the water before adding to your blender. Additionally, you may want to blend in 30 second bursts to let your blender rest in between. I didn’t always have a high powered blender so I used to have to let my blender cool down in between blending to make sure it didn’t overheat.
- Blend: Add all ingredients to the blender, cover with its lid, and slowly turn the power all the way up. Blend on high for 2 ½ - 3 minutes, adding more water as needed to blend (I use the full 1 ¼ cups water to blend). I do 3 full minutes to get it super creamy and also because 3 minutes heats it up nicely so I can enjoy hot queso with my chips. You can also heat it in a pot or the microwave after blending if needed.
- Serve: Serve that nut-free vegan queso in a bowl or thin with a little water to drizzle over chips. Note that when heated, it can form a darker matte layer on top… this is just a chemical reaction that’s totally safe to eat. You can always stir to remove it. Top your queso with cilantro, pico de gallo, or chopped chipotle peppers in adobo from the can (if you like spicy food!).
- Store: Refrigerate leftovers in an airtight container for up to 3-4 days.
Notes
- Note 1: Raw sunflower seeds are way cheaper than raw cashews, though you’re also welcome to use raw cashews cup for cup. If you do not have a high powered blender, soak your seeds or cashews in just boiled water for 30-60 minutes and then drain the water before blending. This will help make your queso ultra creamy. If watching your fat intake, either substitute canned/cooked white beans (like cannellini beans) or silken/soft tofu (if using tofu you will need less water, so only add as much water as needed).
- Note 2: I prefer the flavor of fresh peeled garlic for this recipe. Mince it up first or use granulated garlic if you don’t have a high powered blender.
- Note 3: Chipotle peppers in adobo (a canned good you can find international aisle) is what gives our queso its spice. I only used one pepper from the can for just a small kick, but you can add more if you like spicy. You could also substitute any hot sauce, sriracha, harissa, or a ground spice like chipotle or cayenne if you don’t have chipotle peppers in adobo. If you do not like spicy food, just leave this out. You could always add a little smoked paprika for some more flavor.
- Cook Time: 5 minutes
- Category: Snack, cheese, party food
- Method: Blender
- Cuisine: Mexican
Keywords: Vegan cheese, vegan queso


Leave a Reply